
I recently opened my second jar of YES paste. It took me nearly two years (maybe longer) to use up my first jar of paste. A little paste goes a long long way, and it took me a while to learn to love it.
I bought my first jar to use in cardmaking to glue decorative paper to the generic white cards I bought in a value pack. Glue stick was inexpensive and easy to apply, but it just wasn’t working for me; parts didn’t stay stuck, or the stick was globby, or the stick dried out long before I had used it all up.
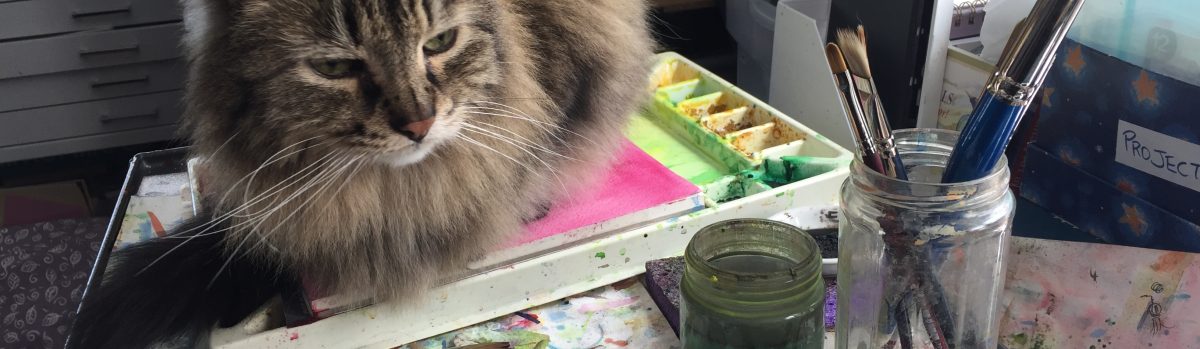
My go-to girl at the art supply store told me to thin YES the paste with water and apply it with a brush. She even picked out a long-handled, half-inch wide hog bristle brush for me to use. It was not her best suggestion. The half-inch brush was too small a tool for the 5”x7” surface I was covering, and thinning the paste with water caused the pretty paper to buckle … and the cat kept stealing the hog-bristle brush.
As a result, I developed a love-hate relationship with that first jar of paste and only used it now and then …until I discovered the palette knife and an application technique that works for me.
To be specific, the Richeson plastic “Scotty” knife won me over. Now I’m using paste on greeting cards and 9×12 journal pages.
I use the knife like a spatula to scoop a glob of paste out of the jar and spread it on the journal page, scraping and removing globs until I have a very thin, very smooth layer of paste. Then I can apply the decorative paper, roll it down with a dry brayer, and close the book to let it dry flat. The plastic knife is inexpensive, flat, and wide. It’s also easy to clean. The dried paste just peels right off.